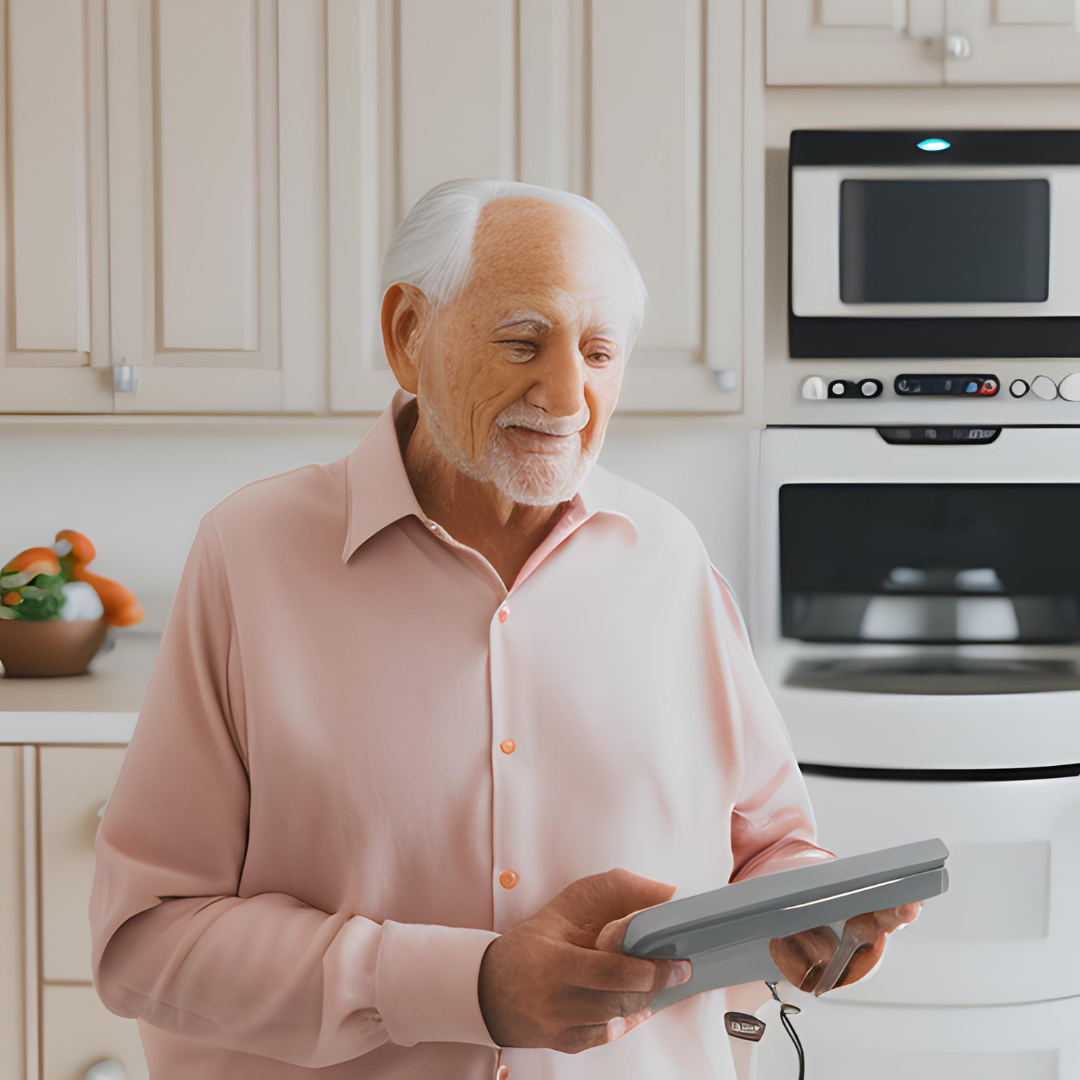
Have you ever heard the term – “Light Creates Colour“? It is true! Not only does it create colour, the type of light (fluorescent, LED, Incandescent, Edison) with their different properties and temperatures can change how a space looks, feels and functions.

Here are 8 key things to know about how the lighting should be laid out in a home office video recording studio:
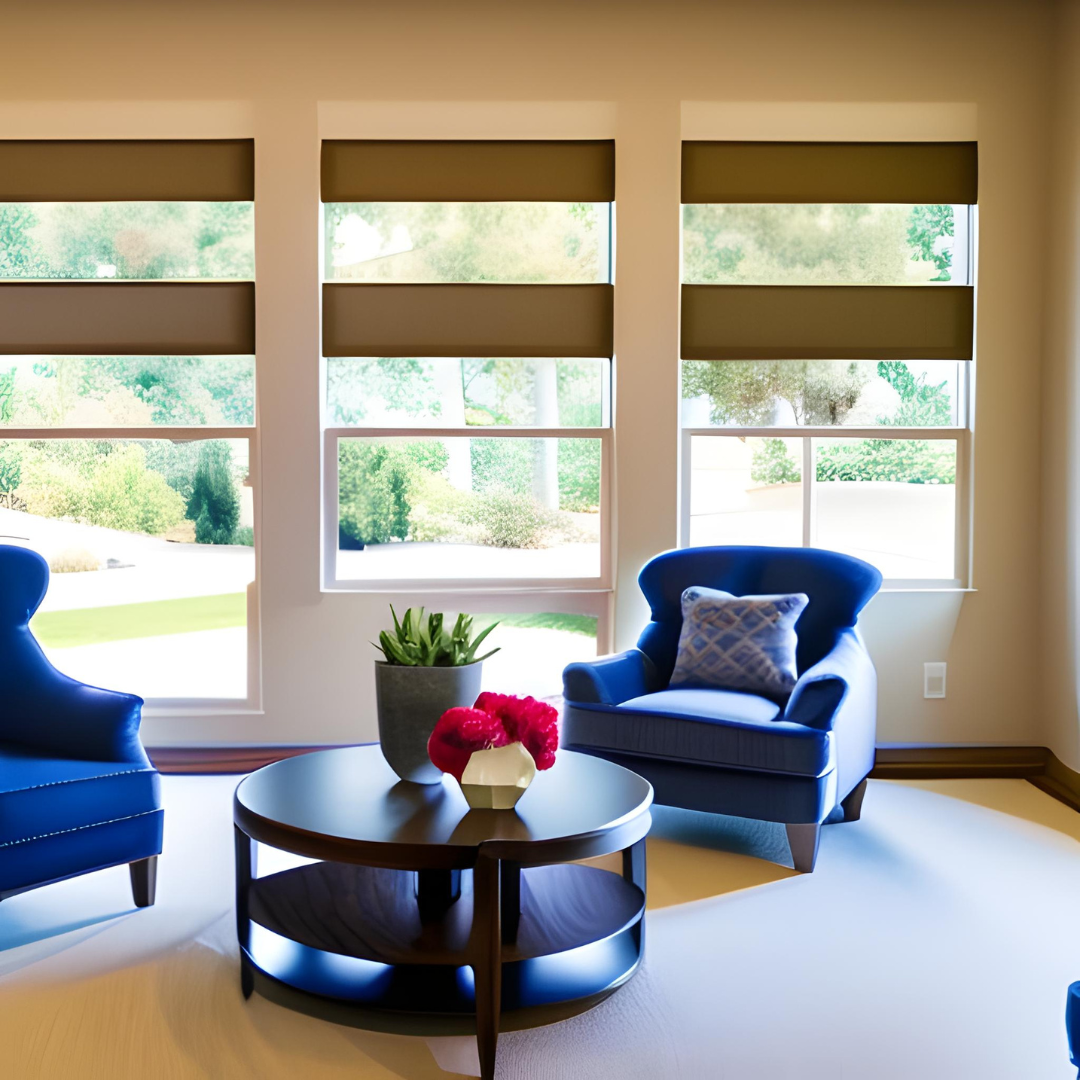
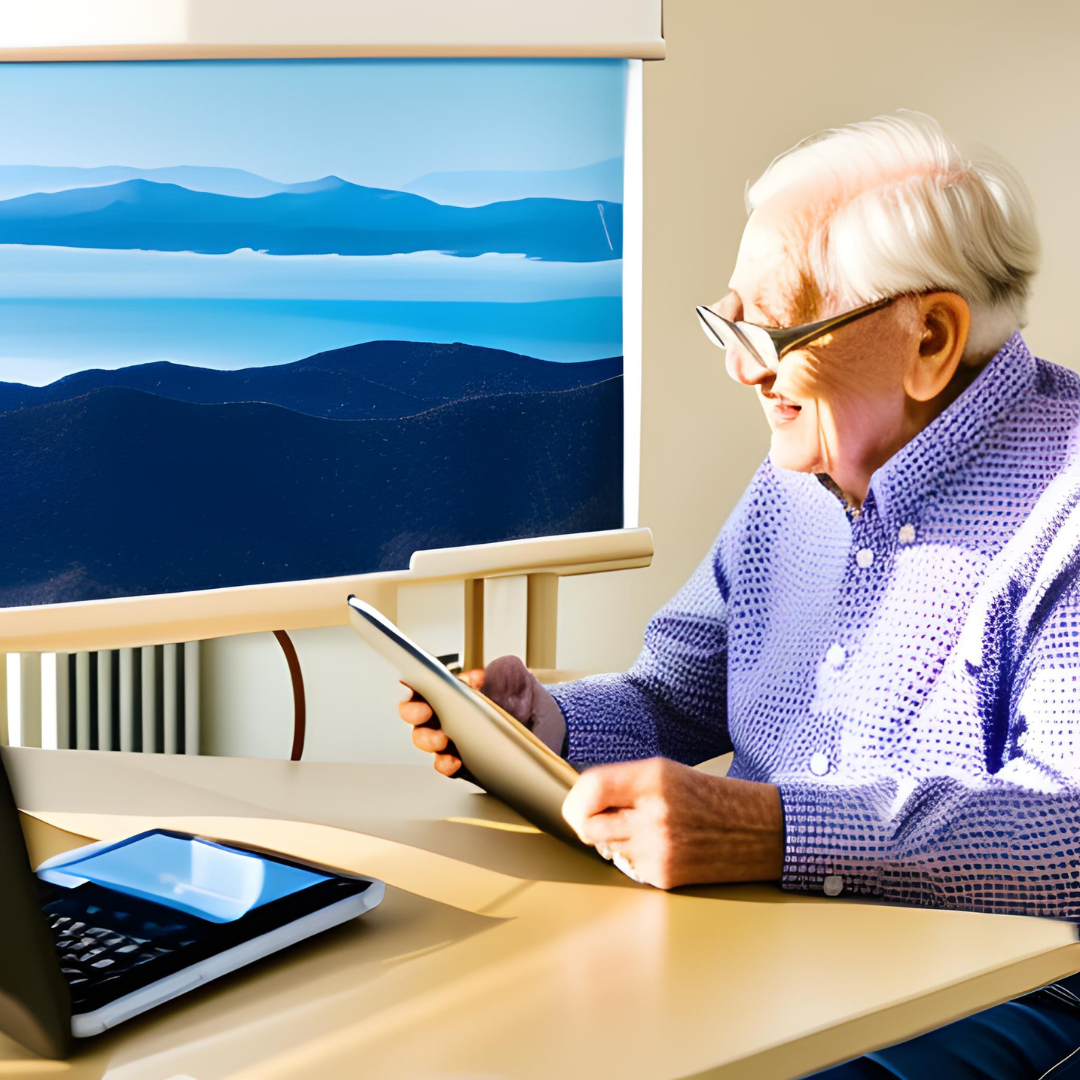
- Natural Light Consideration:
- Position your workspace to take advantage of natural light sources, such as windows, to provide soft and flattering illumination. Consider installing sheer curtains or blinds to diffuse harsh sunlight and minimize glare on screens or equipment.
- Position your workspace to take advantage of natural light sources, such as windows, to provide soft and flattering illumination. Consider installing sheer curtains or blinds to diffuse harsh sunlight and minimize glare on screens or equipment.
- Key Light Placement:
- Place the key light, the primary light source illuminating the subject, at a 45-degree angle to the camera and slightly above eye level to create natural-looking shadows and enhance facial features.
- Place the key light, the primary light source illuminating the subject, at a 45-degree angle to the camera and slightly above eye level to create natural-looking shadows and enhance facial features.
- Fill Light Addition:
- Add a fill light, positioned opposite the key light, to fill in shadows and provide balanced illumination. Use a softer light source or reflector to achieve a gentle fill that maintains depth and dimension in the image.
- Add a fill light, positioned opposite the key light, to fill in shadows and provide balanced illumination. Use a softer light source or reflector to achieve a gentle fill that maintains depth and dimension in the image.
- Backlighting for Depth:
- Incorporate a backlight or hair light behind the subject to separate them from the background and add depth to the scene. Position the backlight slightly above and behind the subject to create a subtle halo effect without causing glare or distraction.
- Incorporate a backlight or hair light behind the subject to separate them from the background and add depth to the scene. Position the backlight slightly above and behind the subject to create a subtle halo effect without causing glare or distraction.
- Adjustable Lighting Fixtures:
- Invest in adjustable lighting fixtures, such as LED panels or softboxes, that allow you to control brightness, colour temperature, and directionality to suit different recording scenarios and achieve desired lighting effects.
- Invest in adjustable lighting fixtures, such as LED panels or softboxes, that allow you to control brightness, colour temperature, and directionality to suit different recording scenarios and achieve desired lighting effects.
- Colour Temperature Consistency:
- Maintain consistent colour temperature across all lighting sources to ensure accurate colour reproduction and avoid unwanted colour casts in your video recordings. Use daylight-balanced or adjustable LED lights to achieve natural-looking lighting conditions.
- Maintain consistent colour temperature across all lighting sources to ensure accurate colour reproduction and avoid unwanted colour casts in your video recordings. Use daylight-balanced or adjustable LED lights to achieve natural-looking lighting conditions.
- Avoiding Glare and Reflections:
- Position lights and reflective surfaces strategically to minimize glare and unwanted reflections on screens, glasses, or glossy surfaces. Use matte finishes or anti-glare coatings on equipment and furnishings to reduce reflections and improve visibility.
- Position lights and reflective surfaces strategically to minimize glare and unwanted reflections on screens, glasses, or glossy surfaces. Use matte finishes or anti-glare coatings on equipment and furnishings to reduce reflections and improve visibility.
- Flexible Lighting Setup:
- Design your lighting setup with flexibility in mind, allowing you to adapt to different recording setups, angles, and scenes. Use adjustable light stands, boom arms, or ceiling mounts to position lights precisely and accommodate various shooting scenarios.
By following these 8 key principles and considerations, you can effectively lay out the lighting in your home office video recording studio to create professional-quality video content with flattering illumination, balanced exposure, and visual depth.
Wishing you much success with creating your unique home office to record and/or do your next Zoom or Google Chat call – maybe it will be with me!
Click here if you would like to chat about your unique space!
Simply Me by Design,
Jan Addams
Designer, Author, Treasure Hunter


Comments are closed